We are all used to blurred and out of focus pictures. They are mostly achieved at the time of taking the picture, by design (check out Sugimoto for some examples of this) or by accident. In digital, you can simulate blur in post-processing by adding a filter such as Gaussian blur. But what about the traditional darkroom? You could induce blur by either moving the easel or the negative while exposing. I have been exploring how to do this over the past few weeks, with some mixed results.
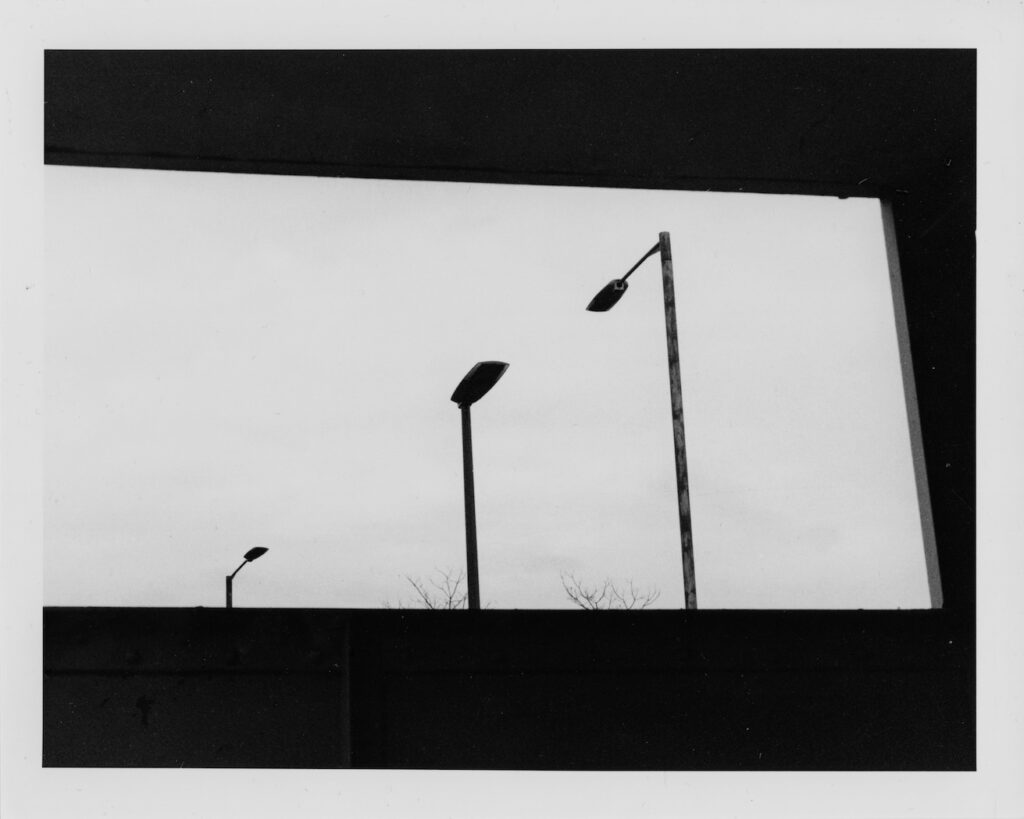
It all started with a picture I took of three lamp posts from the footbridge in Erith rail station, near Dartford. It was taken with a medium format camera. Here is the straight print, using Ilford Multigrade RC IV glossy paper:
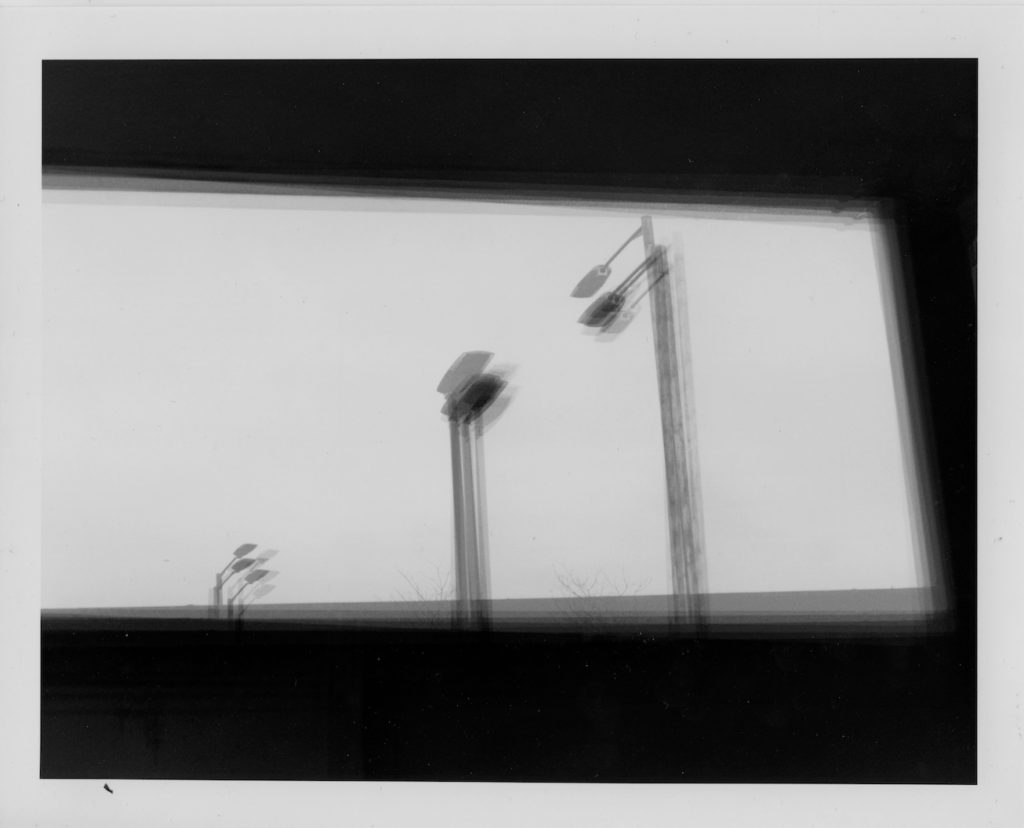
At first, I moved the easel up and down a couple of centimetres at the time, doing four or five repetitions. The resulting image was a bit jarring, disconcerting.
The next thing I tried was circular movement around the top of the central lamp post. The idea was to create a point of minimum blur towards which our eyes would converge. In my attempts, I simply tilted the easel up an down by a couple of centimetres, trying to keep the centre as steady as possible, but I could see how much easier (and fun) it would be to set the easel on top of a rotating tray. Perhaps I will try this later. You can see below some of the resulting pictures:
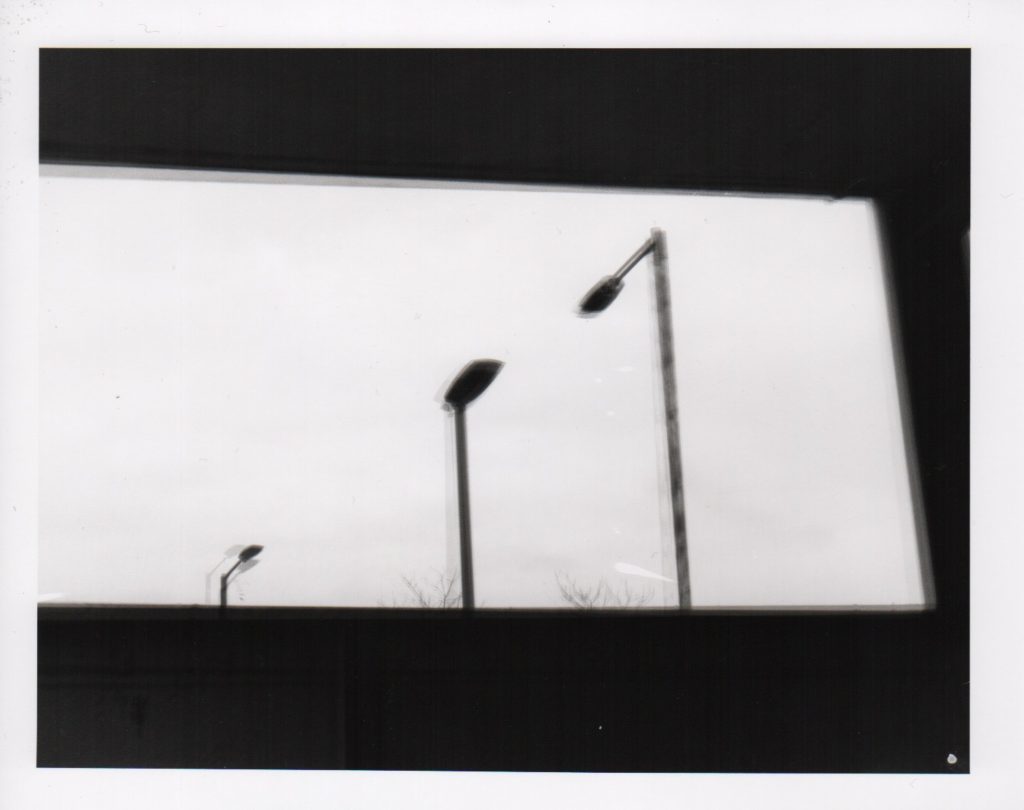
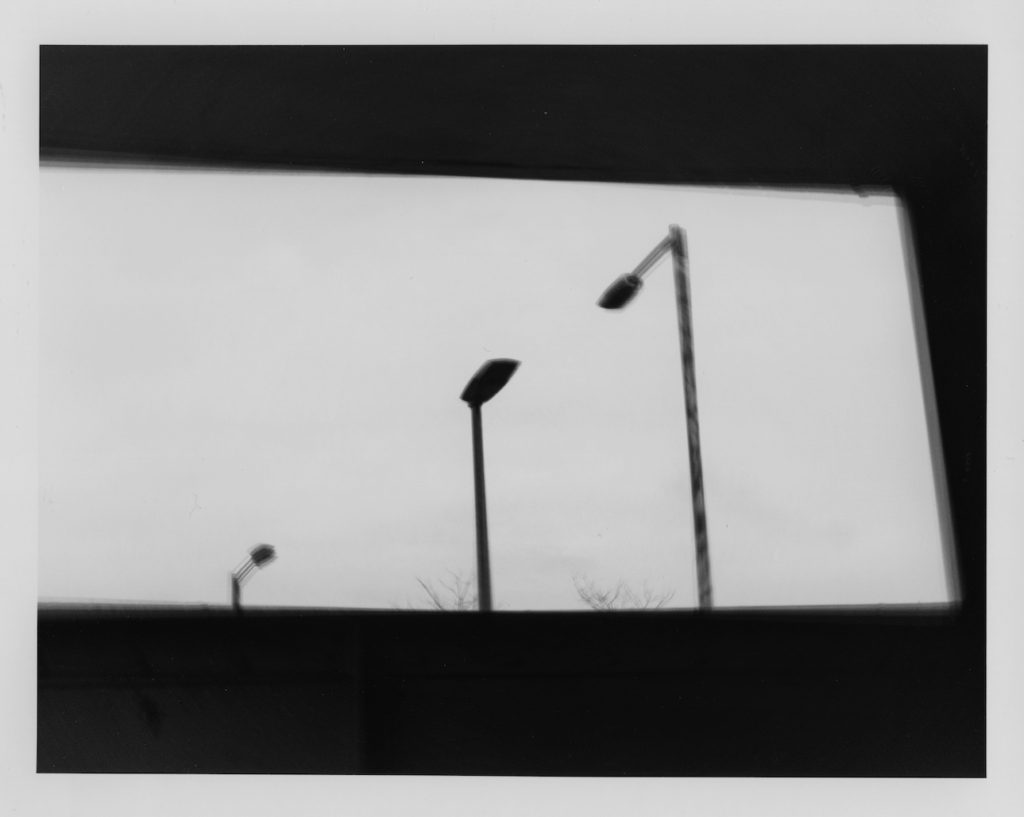
The movements were more nuanced during my second attempt, with the central lamp post being almost sharp. The effect reminded me of the swirly bokeh of certain old portrait lenses. Working with movement at the easel should afford greater control than moving the negative, were the slightest of movements will magnify the blur on the projected image.
During that same darkroom session I also tried to print from a colour negative, something I had wanted to do for some time but never got around it. The film was Fuji Pro 400H. I was using the split grade technique for printing, so my test strips were done with a grade 2.5 filter and the correct exposure came out at about 4 seconds. Because this had fairly low contrast, I decided to allocate 3 seconds of that to the grade 5 exposure and 1 second to grade 0 for the initial print.
To my surprise, the print came out massively underexposed. Further tests done at grades 0 and 5 separately made me realised that the colour of the Pro 400H negative blocked the effect of the high contrast filter and that to print anything using grades 4 or 5 with this negative I would need considerably longer exposures (to a ratio of about 9:1 to the time required for a low contrast grade 0). In the end, I managed to get a reasonable print out of it by exposing it 25 seconds under a grade 5 filter, but the level of contrast one can get out of the Pro 400H negatives is still limited.
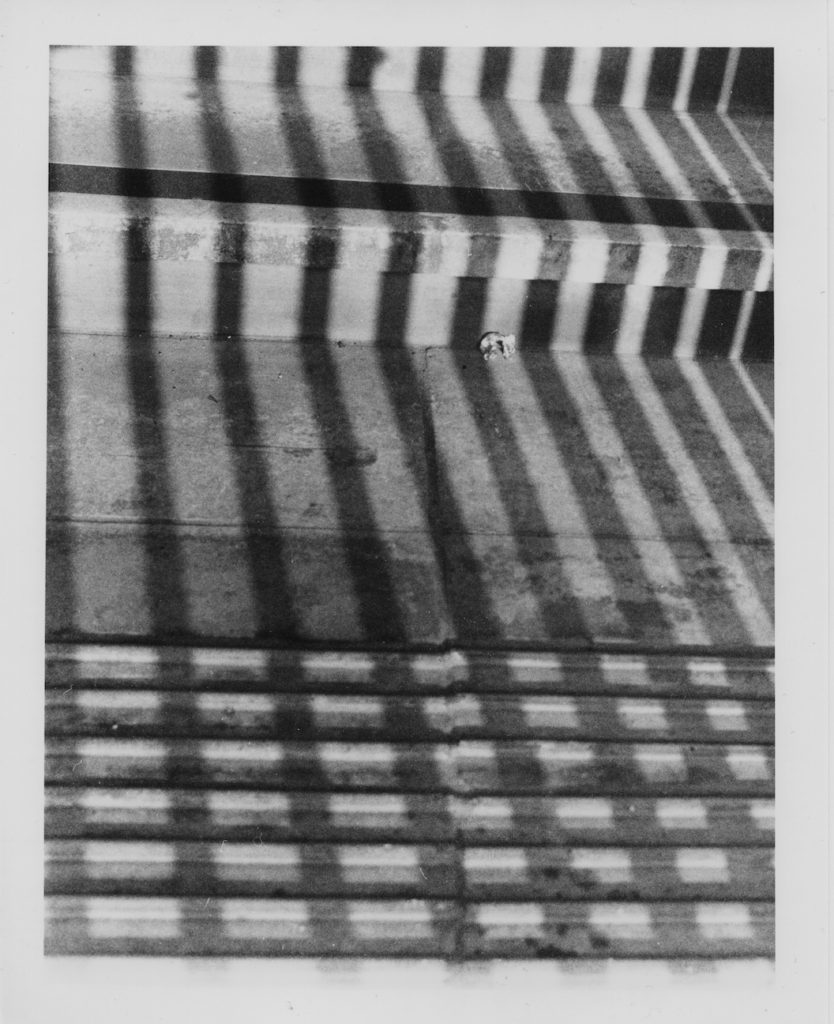
As you would have imagined, once I worked out the correct exposure, I wanted to add blur to the print. The best results came from pivoting the easel around the paper crumble in the top left hand side quadrant of the negative.
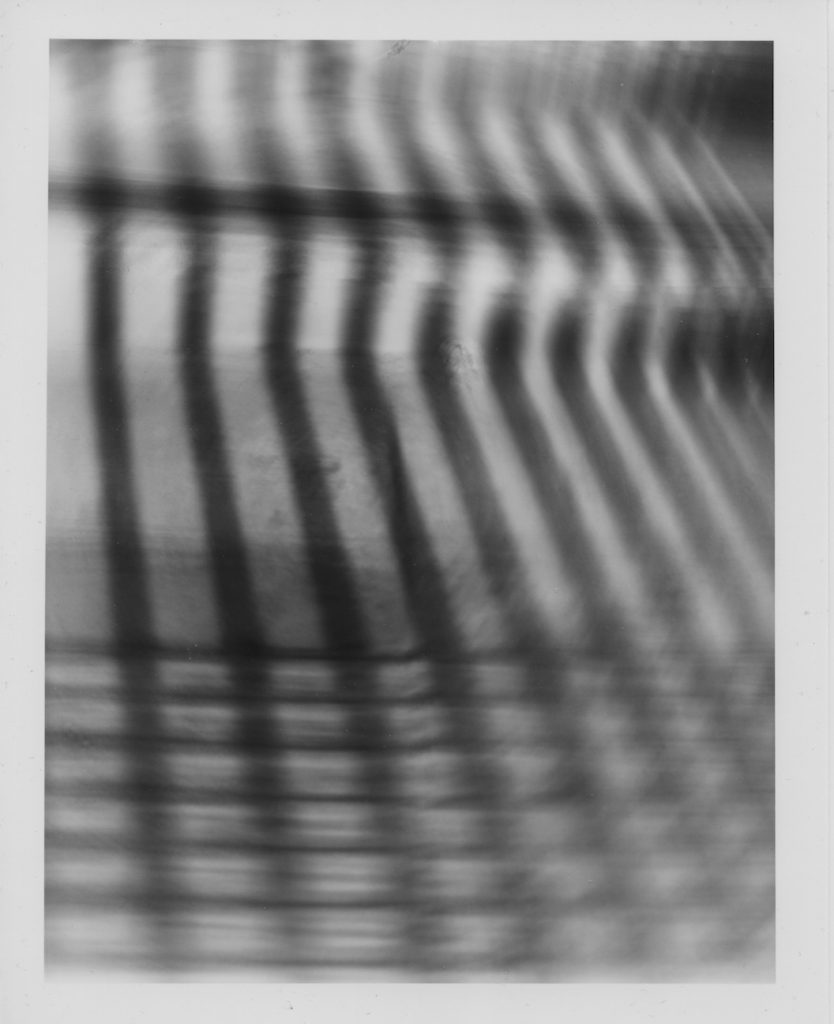
You can see my series on blur here. One thing to bear in mind if you want to try this is that the exposure times when moving the easel would need to be shortened slightly to preserve the highlights, as they will get muddled by areas of shadow immediately surrounding them in the negative. This is particularly noticeable around specular highlights or when using flash.